
Building my couch computing station
Contents
Remember when I posted about gaming from the Orchard House couch? The key part was figuring out how to get a laptop-quality LCD monitor working in the living room, preferably attached to my trusty IKEA DAVE. Well, despite my best attempts at ruining my materials and tools, I managed to get it built!
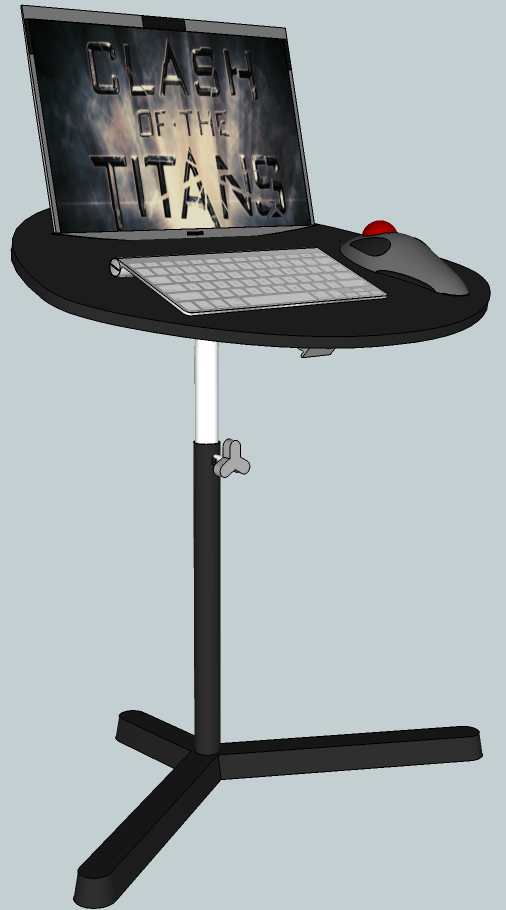
For reference, here’s what I came up with in Google Sketchup:
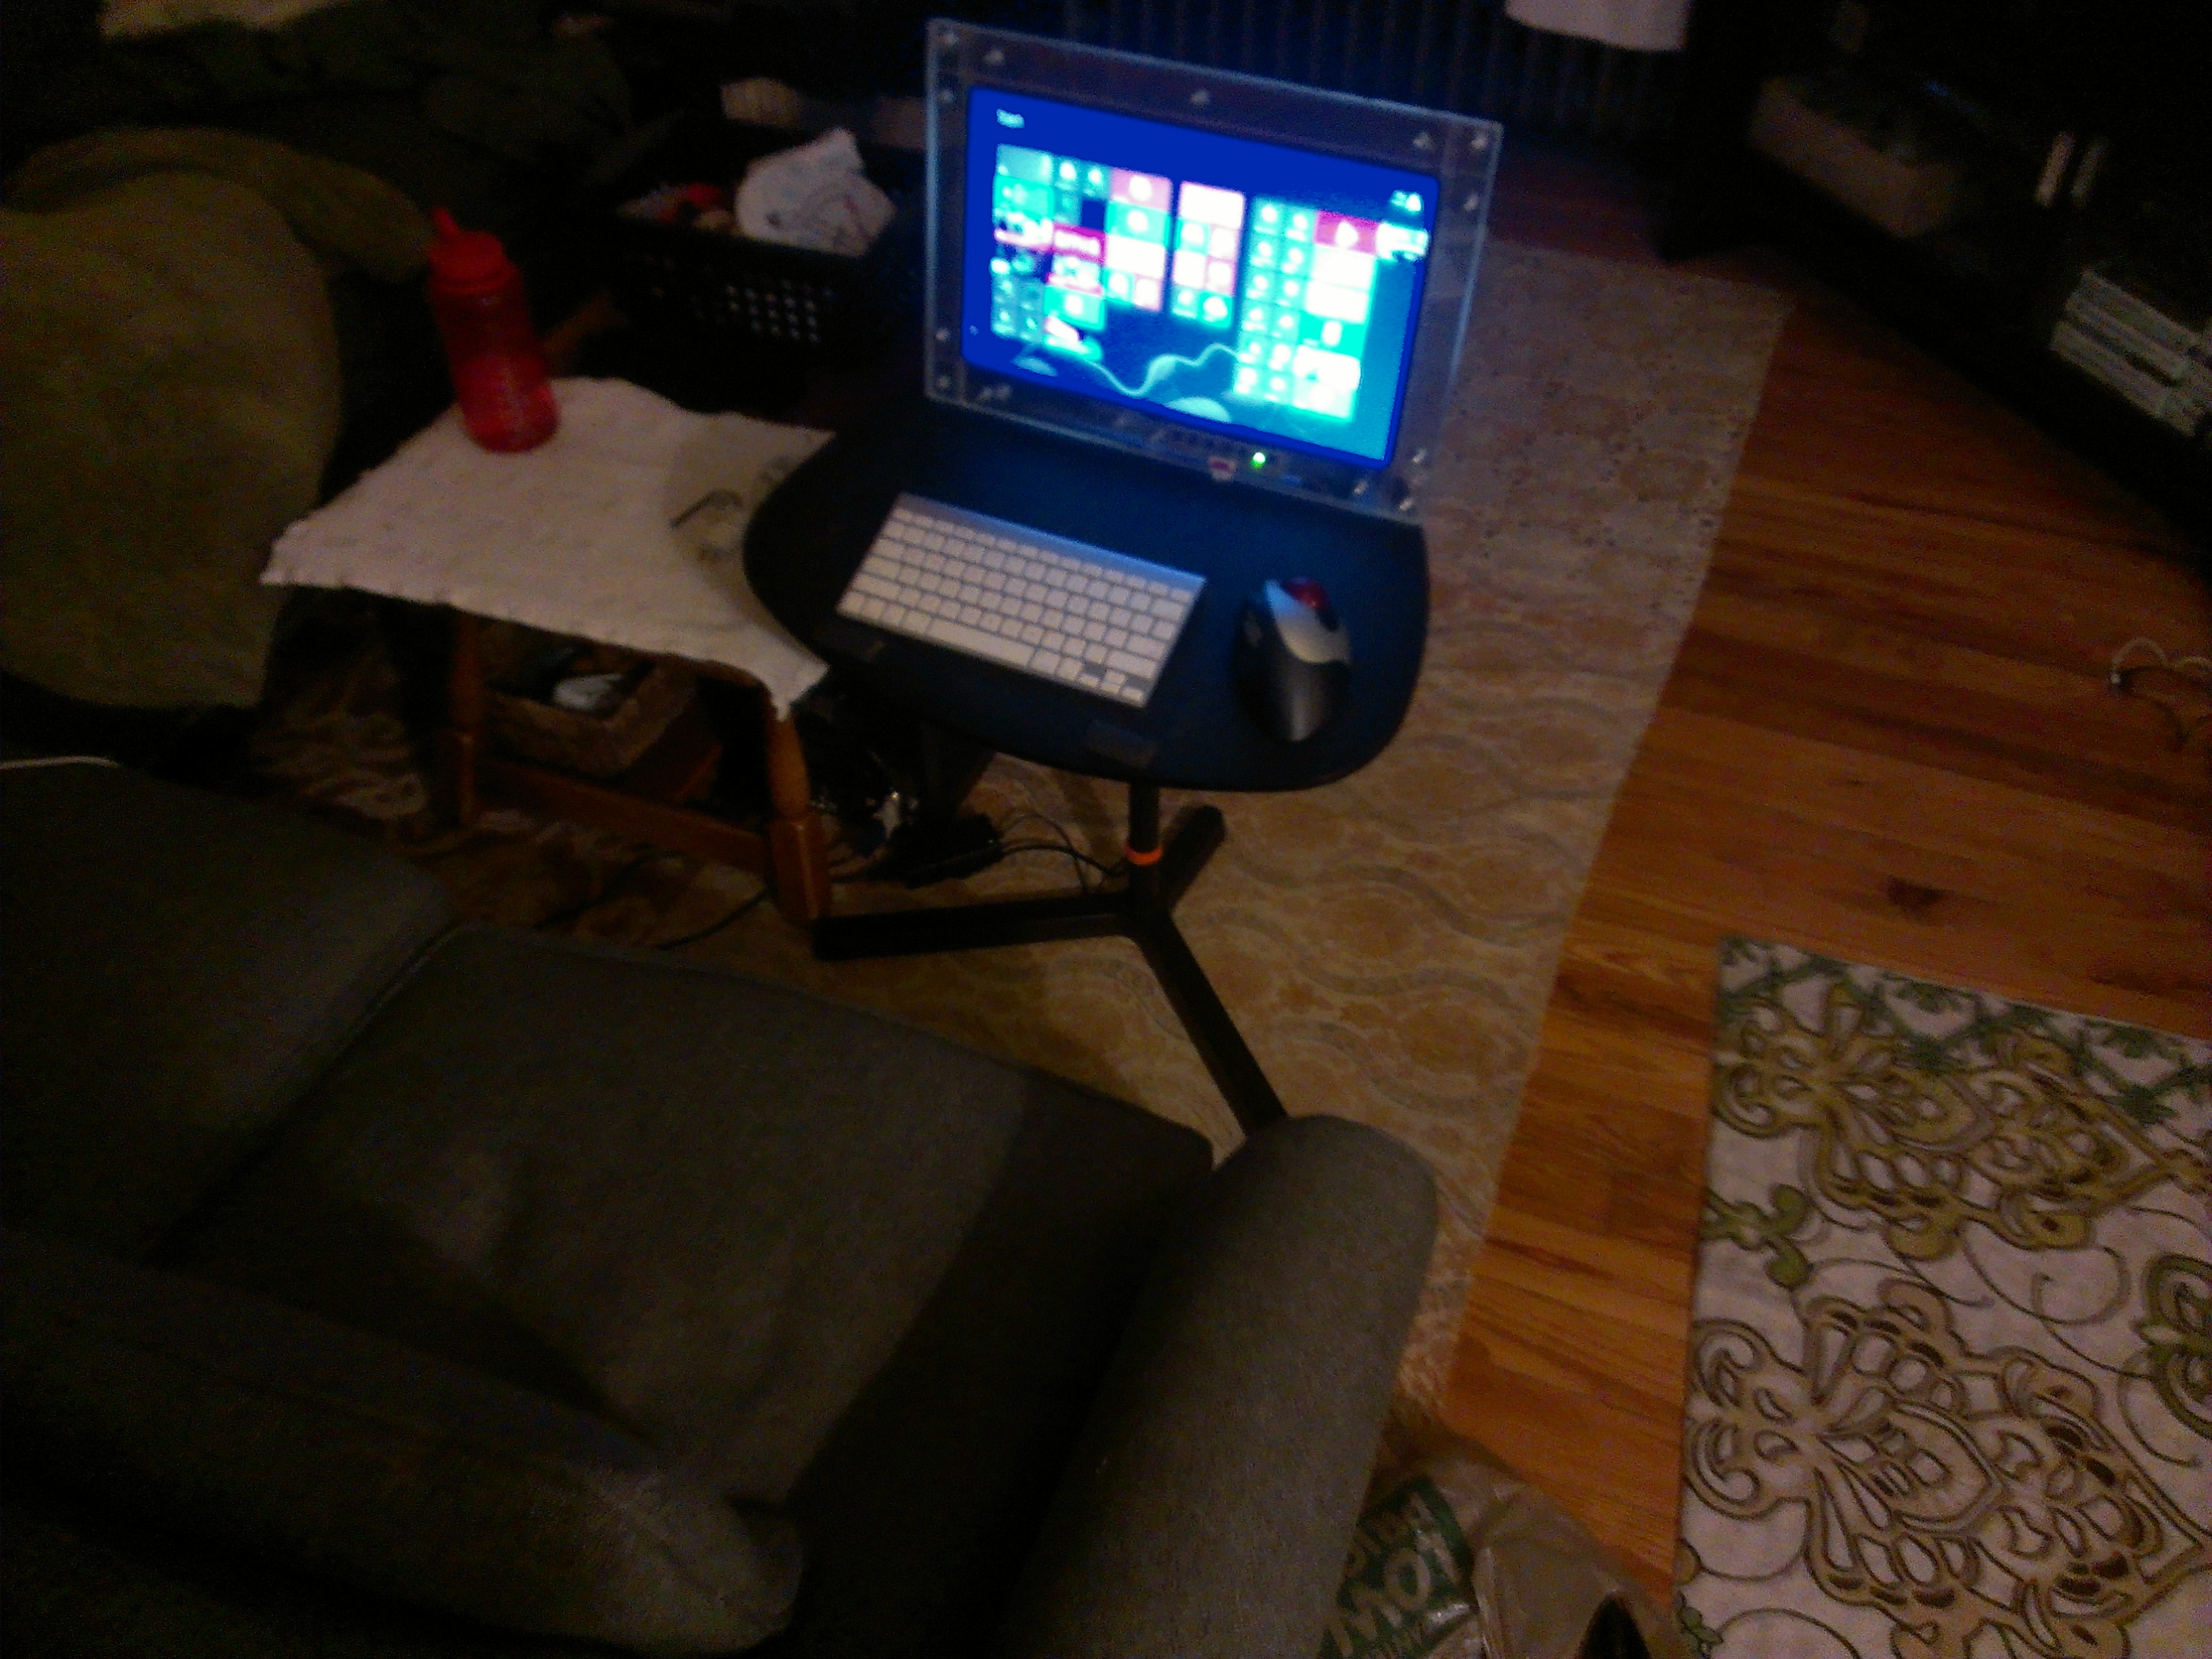
Spoiler alert – here’s what the final product looks like:
Display from the other side of the earth
The first piece arrived a week or so ago:
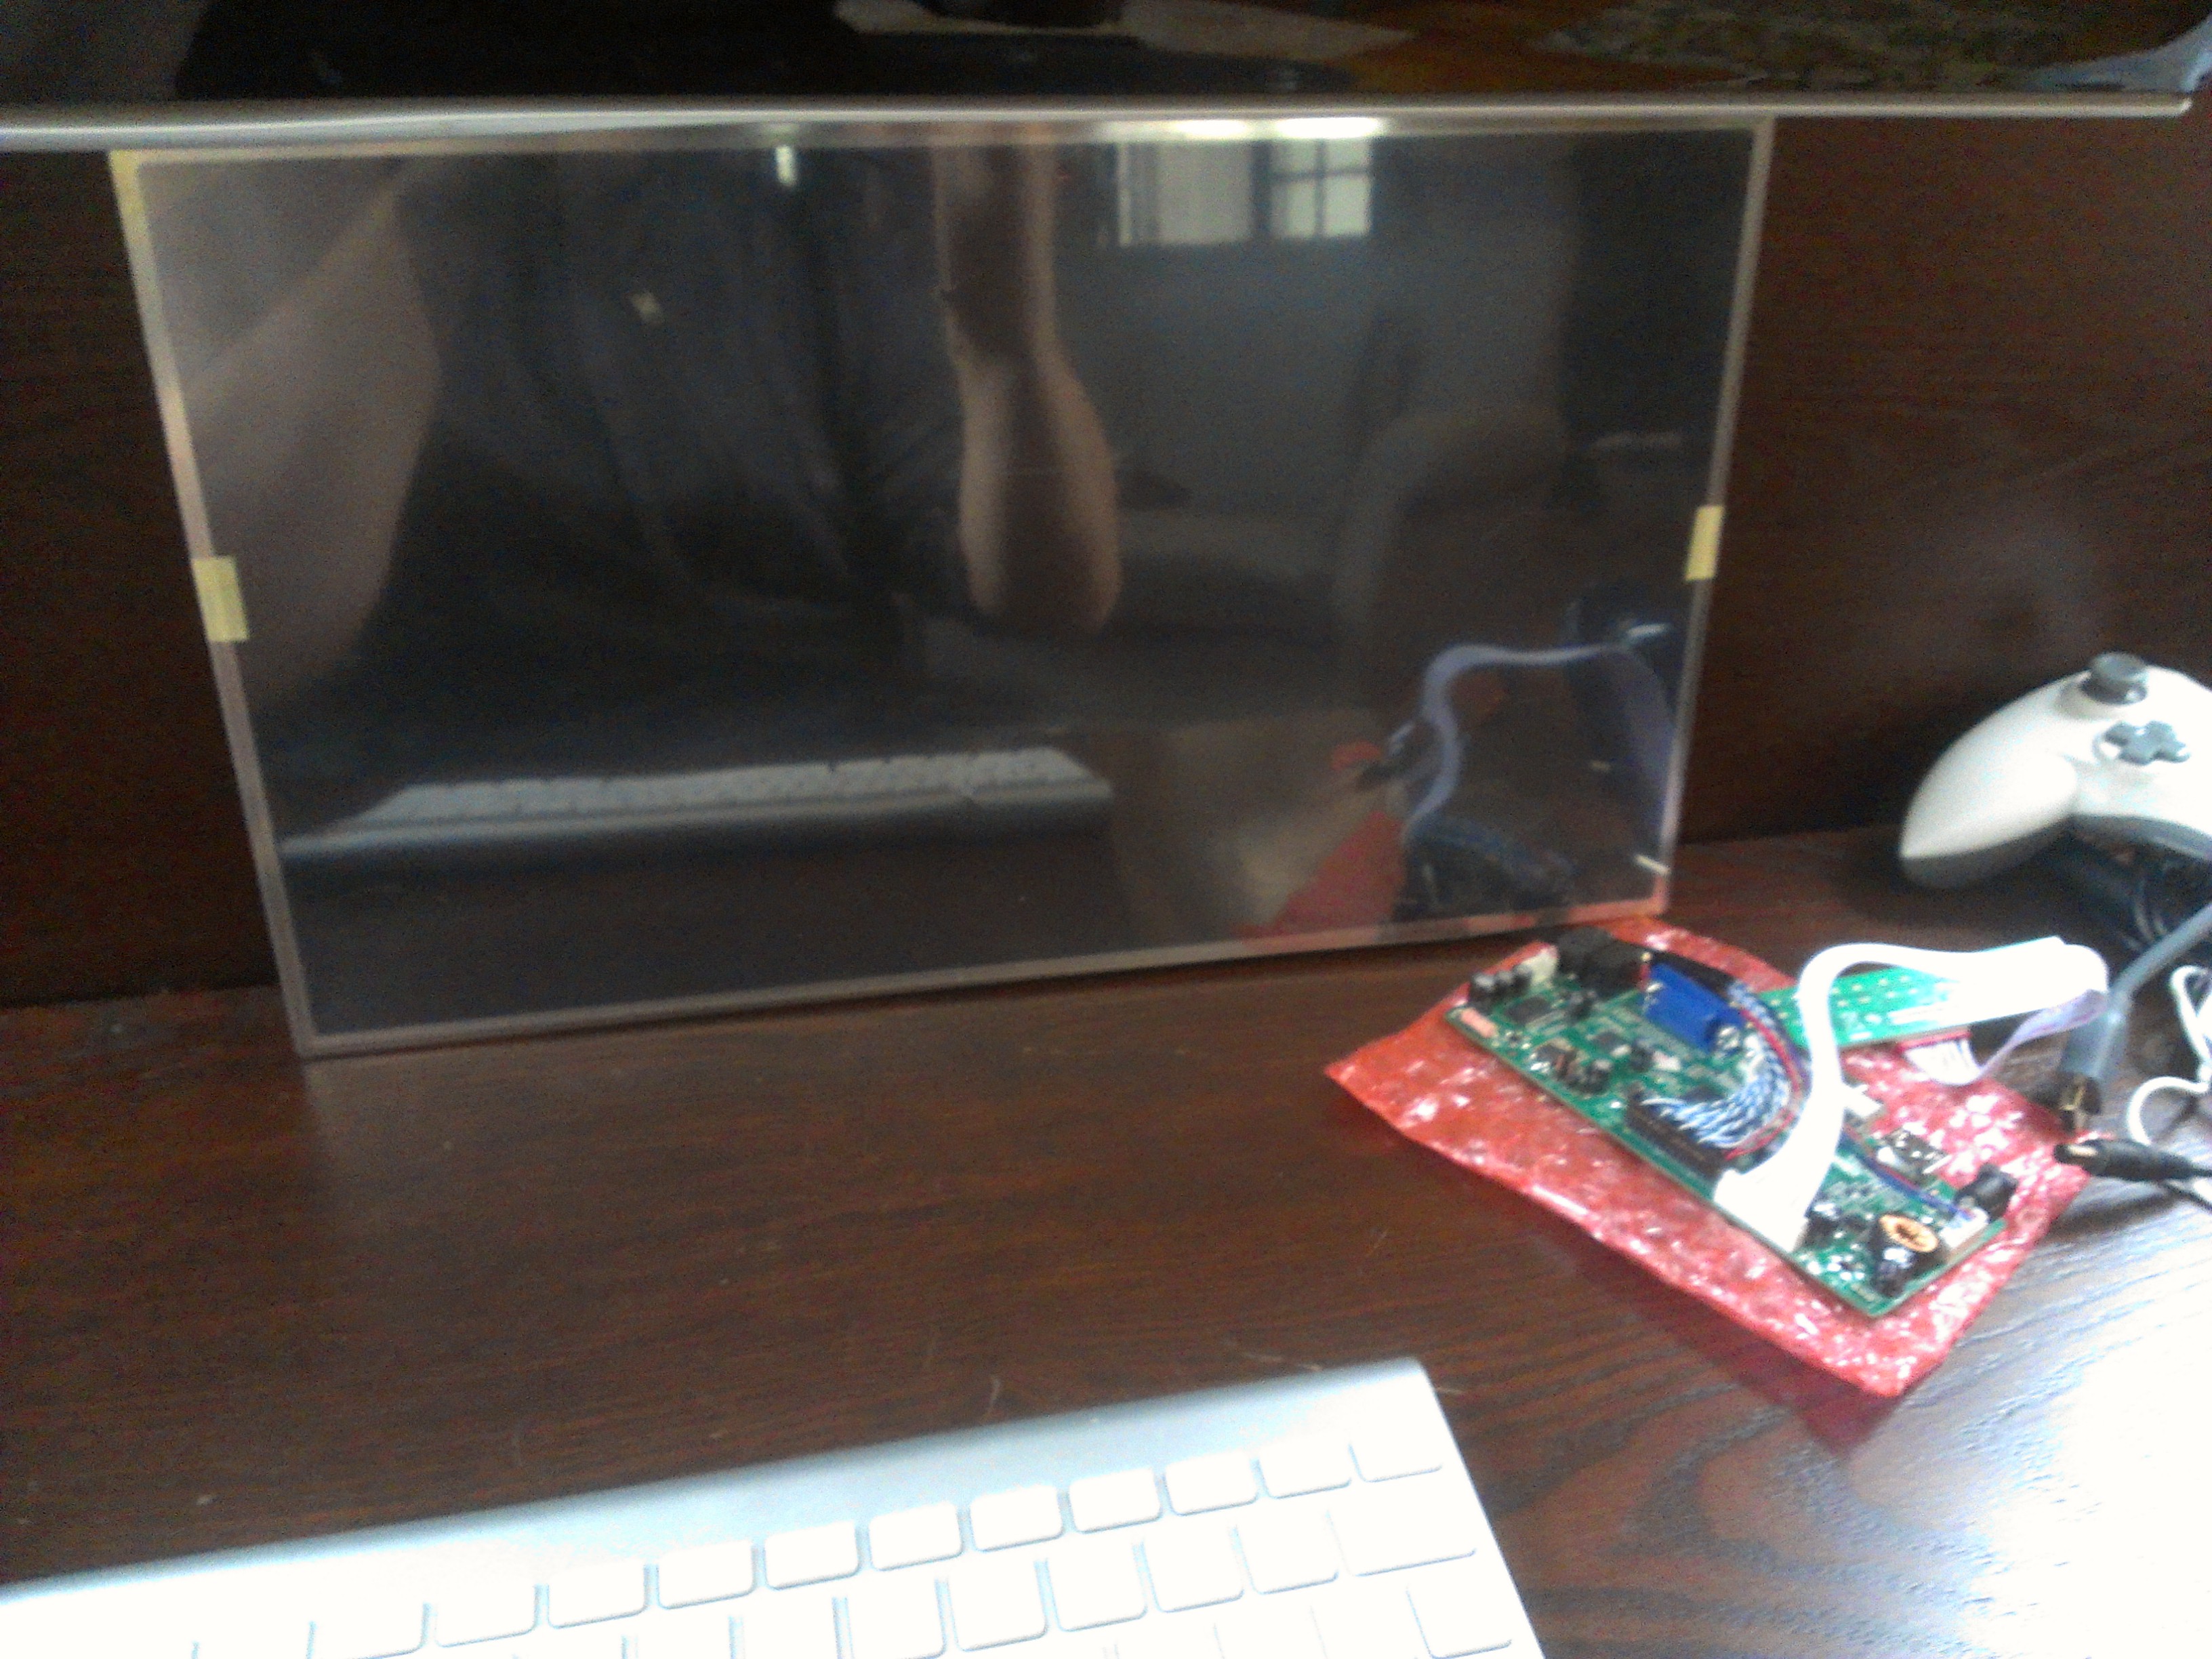
LCD panel and control board
Having never ordered anything like this before from a random eBay store out of China, I half expected it to never show up. But, the merchant has near perfect 99.9% feedback scores, so I hit the “Buy it now” button and crossed my fingers.
Something great was that the confirmation email noted, “because what you bought will be shipped from the other side of the earth, it needs time”. Well, fair enough: I did pick the cheapest delivery option. Still, even with that bit of expectation setting, the package showed up just 10 days later. (#LivingInTheFuture #FTW)
What arrived was a 17.3″ 1920×1080 TN LCD panel, apparently used in a variety of high-end PC laptops from HP and Sony. What was also in the box was a little driver board that connects to the panel via LVDS cable. The driver board takes a 12v DC power supply, accepts HDMI / VGA / DVI video inputs, and even offers a headphone audio output jack.
Overall, this hardware is exactly what I was looking for: Basically the head chopped off a laptop, with the right connectors for a desktop PC. What I needed now was an enclosure, and a way to mount the enclosure to my IKEA DAVE.
Mounting hardware
As it happened, I had a cheap VESA mount with an articulated arm laying

For around $15, it’s just about right: I had to mount it sideways, and it doesn’t quite fully work that way. The side-to-side angle doesn’t want to support any weight in an up-and-down tilt, but the rest of the arm tightens down, so it’s good enough.
Building the enclosure
I don’t have a 3D printer or a laser cutter. Though there is a friendly hackerspace suitably equipped nearby, I wanted to see what I could prototype by hand. So, I went to Home Depot and bought 4 polystyrene panels, a Dremel tool, and an acrylic cutter.
With lots of trial and error, and truly awful manufacturing tolerances, I came up with a crude design consisting of 6 stacked layers bolted together with machine screws:
- Back layer with VESA mounting holes and an exit for the LVDS cable.
- Layer with VESA mounting holes and a pocket to route the LVDS cable.
- Layer behind the LCD with pocket for LVDS cable and heads of VESA mount bolts.
- Strips across the top and sides to hold the LCD panel.
- More strips across the top and sides to hold the LCD panel.
- Strips across the top and sides, covering the bezel area of the LCD panel.
I made a ton of measurements and little indecipherable sketches in my grid-lined Moleskine, but those were mostly crap. No battle plan survives contact with the enemy, and all that. In the end, I just flew by the seat of my pants and hacked away.
This process taught me that a Dremel (in my hands, at least) is absolutely no substitute for a laser cutter. I really didn’t anticipate just how horrible I’d be at cutting this stuff. Trying to cut just-right shapes out of the polystyrene turned into a dismal, stinky mess. But luckily, all the material I thought I’d wasted turned out to be perfect for cutting out as strips for the bezel and sides.
So, in lieu of a diagram, how about some pictures?

Back layers, attached to the VESA mount clamped to my workbench.
Here’s a little trick I worked out in this construction process: I used squares of electrical tape to retain the machine screws, so that I could flip the thing around while I was assembling layers on top before threading on the nuts. And speaking of that, here are the rest of the pieces in place:

Further layers bolted into the stack
The middle two layers cradling the sides of the LCD panel alternate between long sides / short top and long top / short sides, providing a bit more stability in the way they overlap. The top layer is long sides / short top, with a bit more width to cover the 5mm or so of the LCD panel’s bezel area.
Immediately behind the LCD panel is a layer with a cut-out to provide space for machine screws for the VESA mount, and a pocket through which to route the LVDS cable to the control board. And the final two layers form the actual VESA mount and complete the exit route for the LVDS cable.

Video control board bolted onto the back
And finally, here’s the video control board on the back. Rather than make a full box for the board, I just sandwiched it with machine screws between acrylic layers and nylon spacers. Then, I bolted that whole mess onto the back layers.
Midway through this process, I switched from Home Depot to a family-owned hardware store a few blocks from my house. I think they recognize me as a regular now after repeat visits for Dremel bits, screws, and a pile of other miscellanea.
Mounting the mess to the DAVE
The VideoSecu VESA mount went onto the IKEA DAVE rather crudely with a pair of long wood screws. It feels pretty solid, but the screws stab treacherously out through the bottom. I’ll need to address that someday, probably after they stab me in the kneecaps.
And, as it turns out, the control board placement was a mistake. Once I got the VESA arm screwed onto the IKEA DAVE, there wasn’t enough room to connect the power and an HDMI cable to the board. Or rather, there was just enough room to do so and inadvertently destroy an HDMI cable after a few hours of the monitor’s weight resting on it. I guess the good news is that the cable went before the solder joints on the jack failed. Herp, derp.
So, I bought a new HDMI cable, unbolted the board, and stuck it onto the back with double sided tape. Here’s what the back looks like now:

LCD enclosure attached to the IKEA DAVE, featuring bonus Cheddars appearance
I also used the same tape to attach the button board to the front of the enclosure.
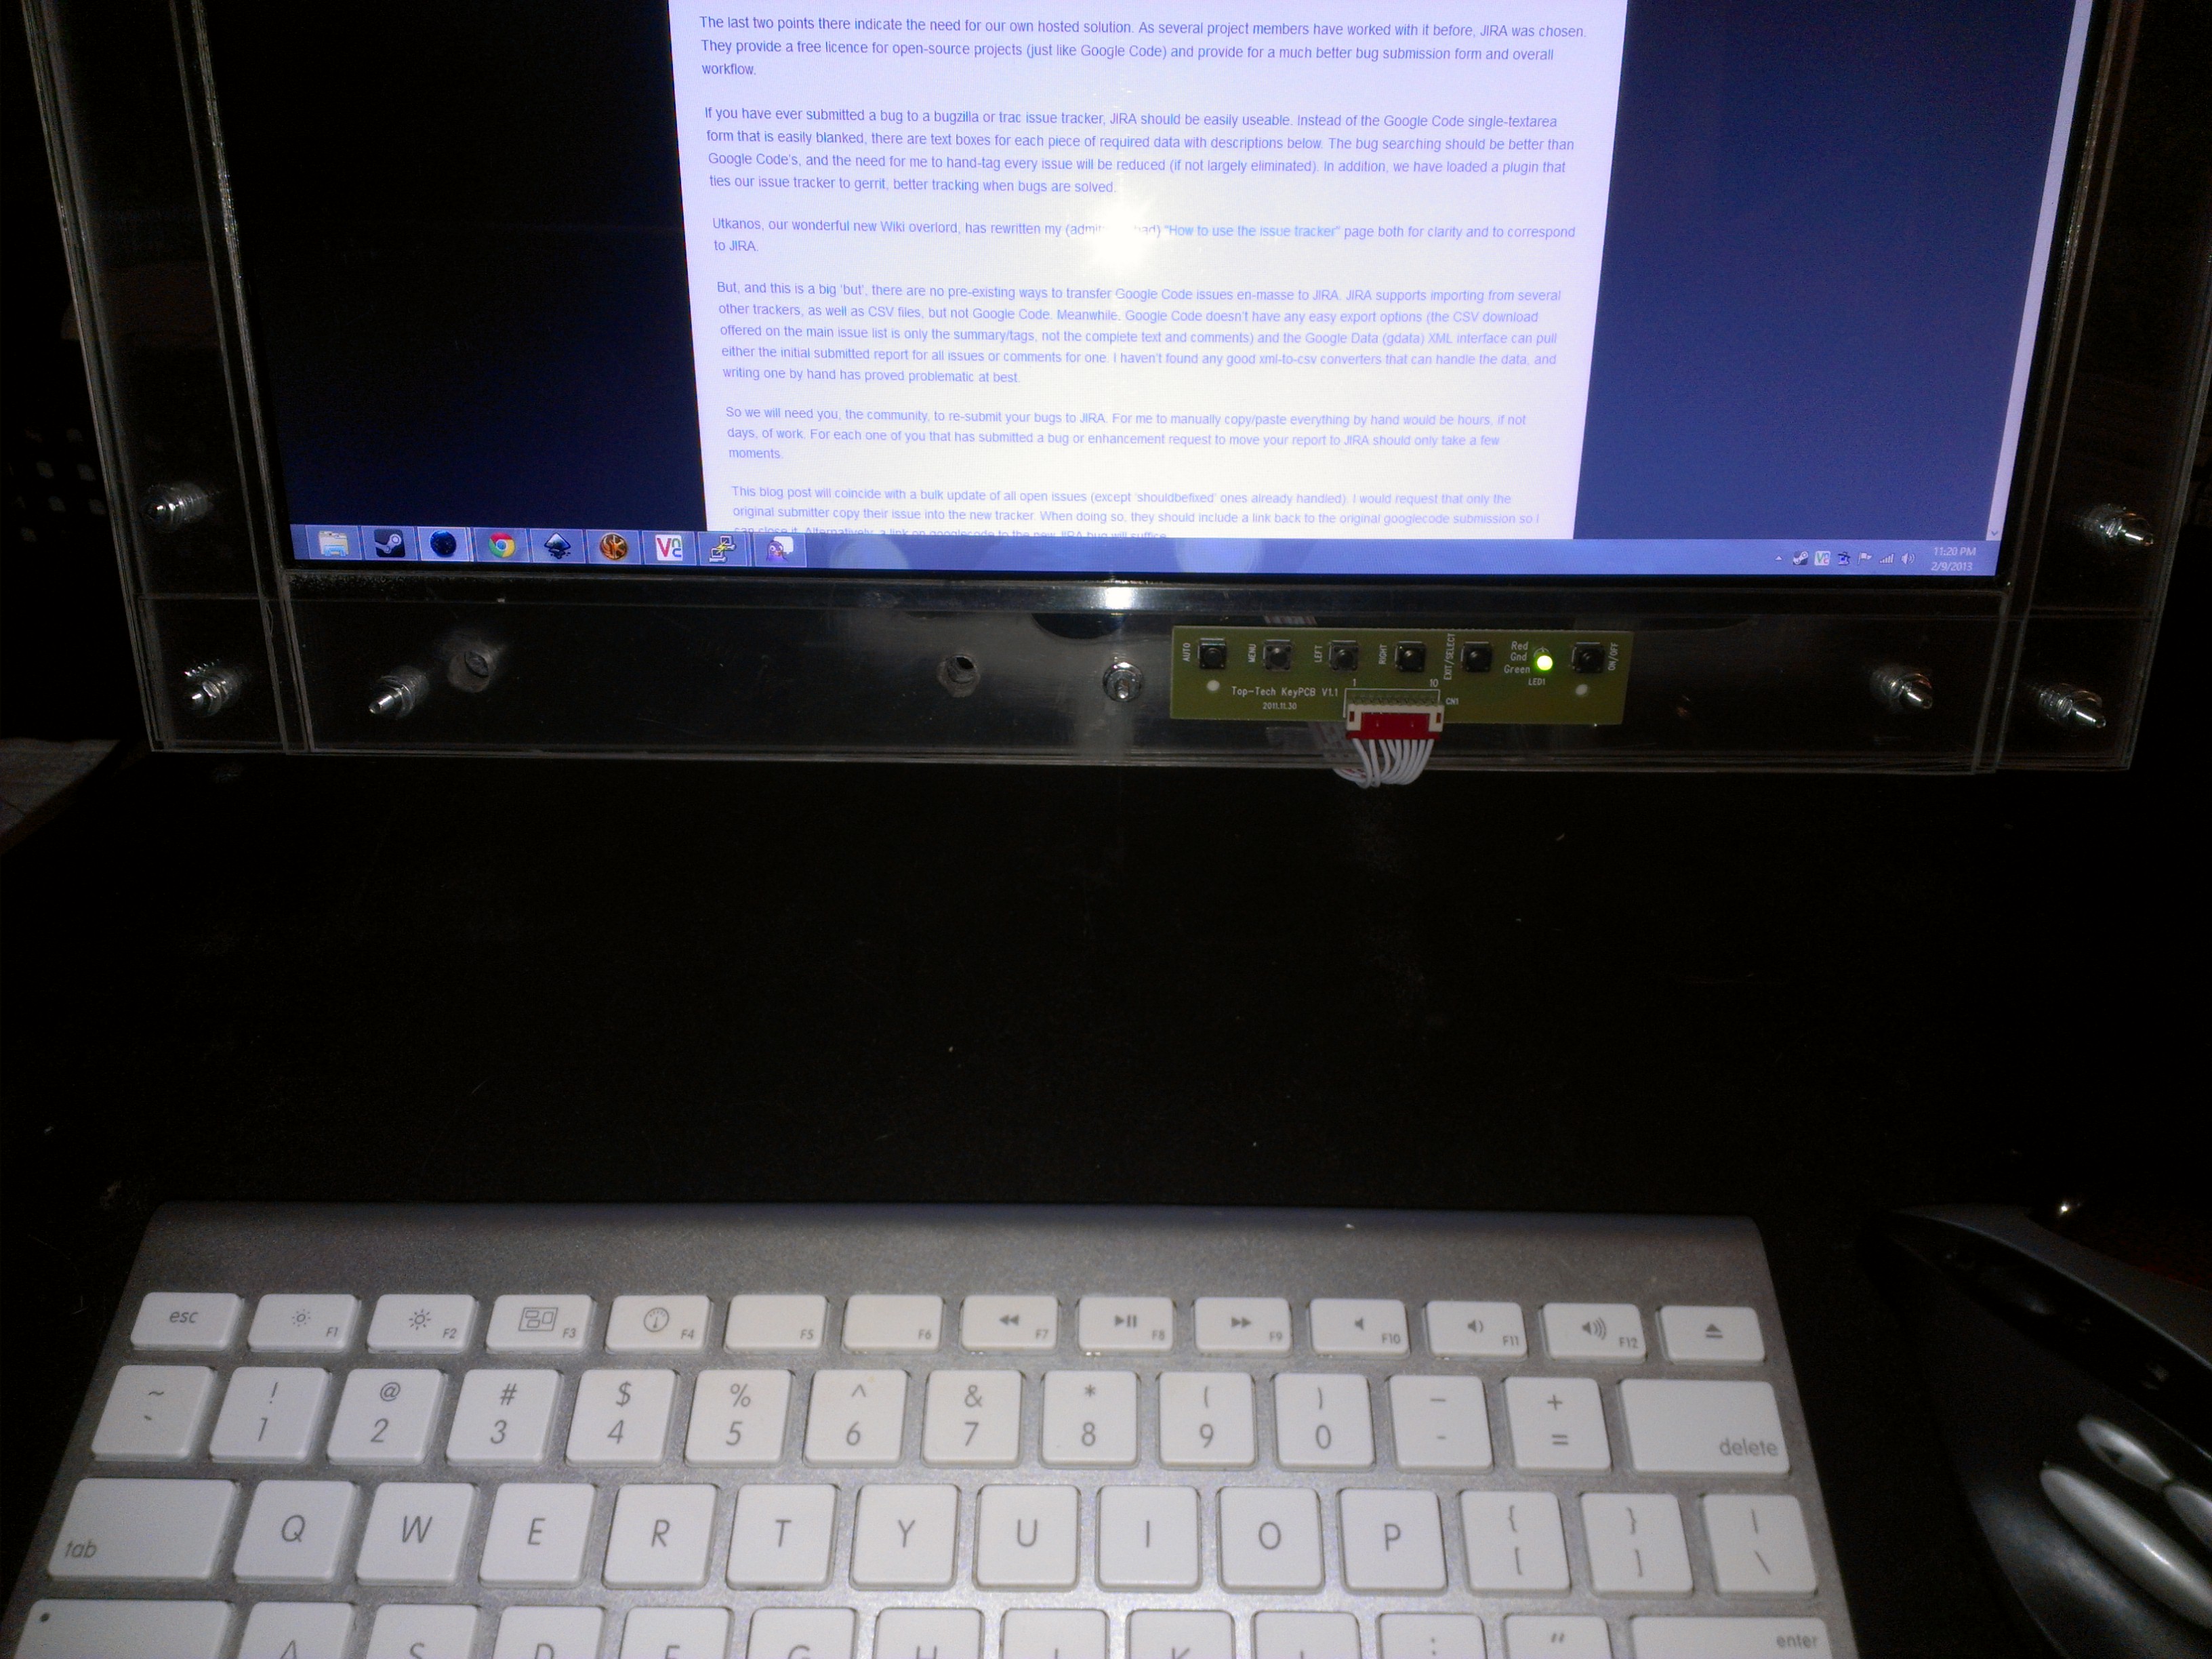
Button board on front
Overall, this thing works pretty much exactly as I’d imagined it. I built a PC in a Fractal Node 304 mini-ITX case, and hid that under the coffee table. I bundled the cables together and used velcro wraps to bind them to the DAVE, and some spiral wraps to bunny-proof them as much as possible.
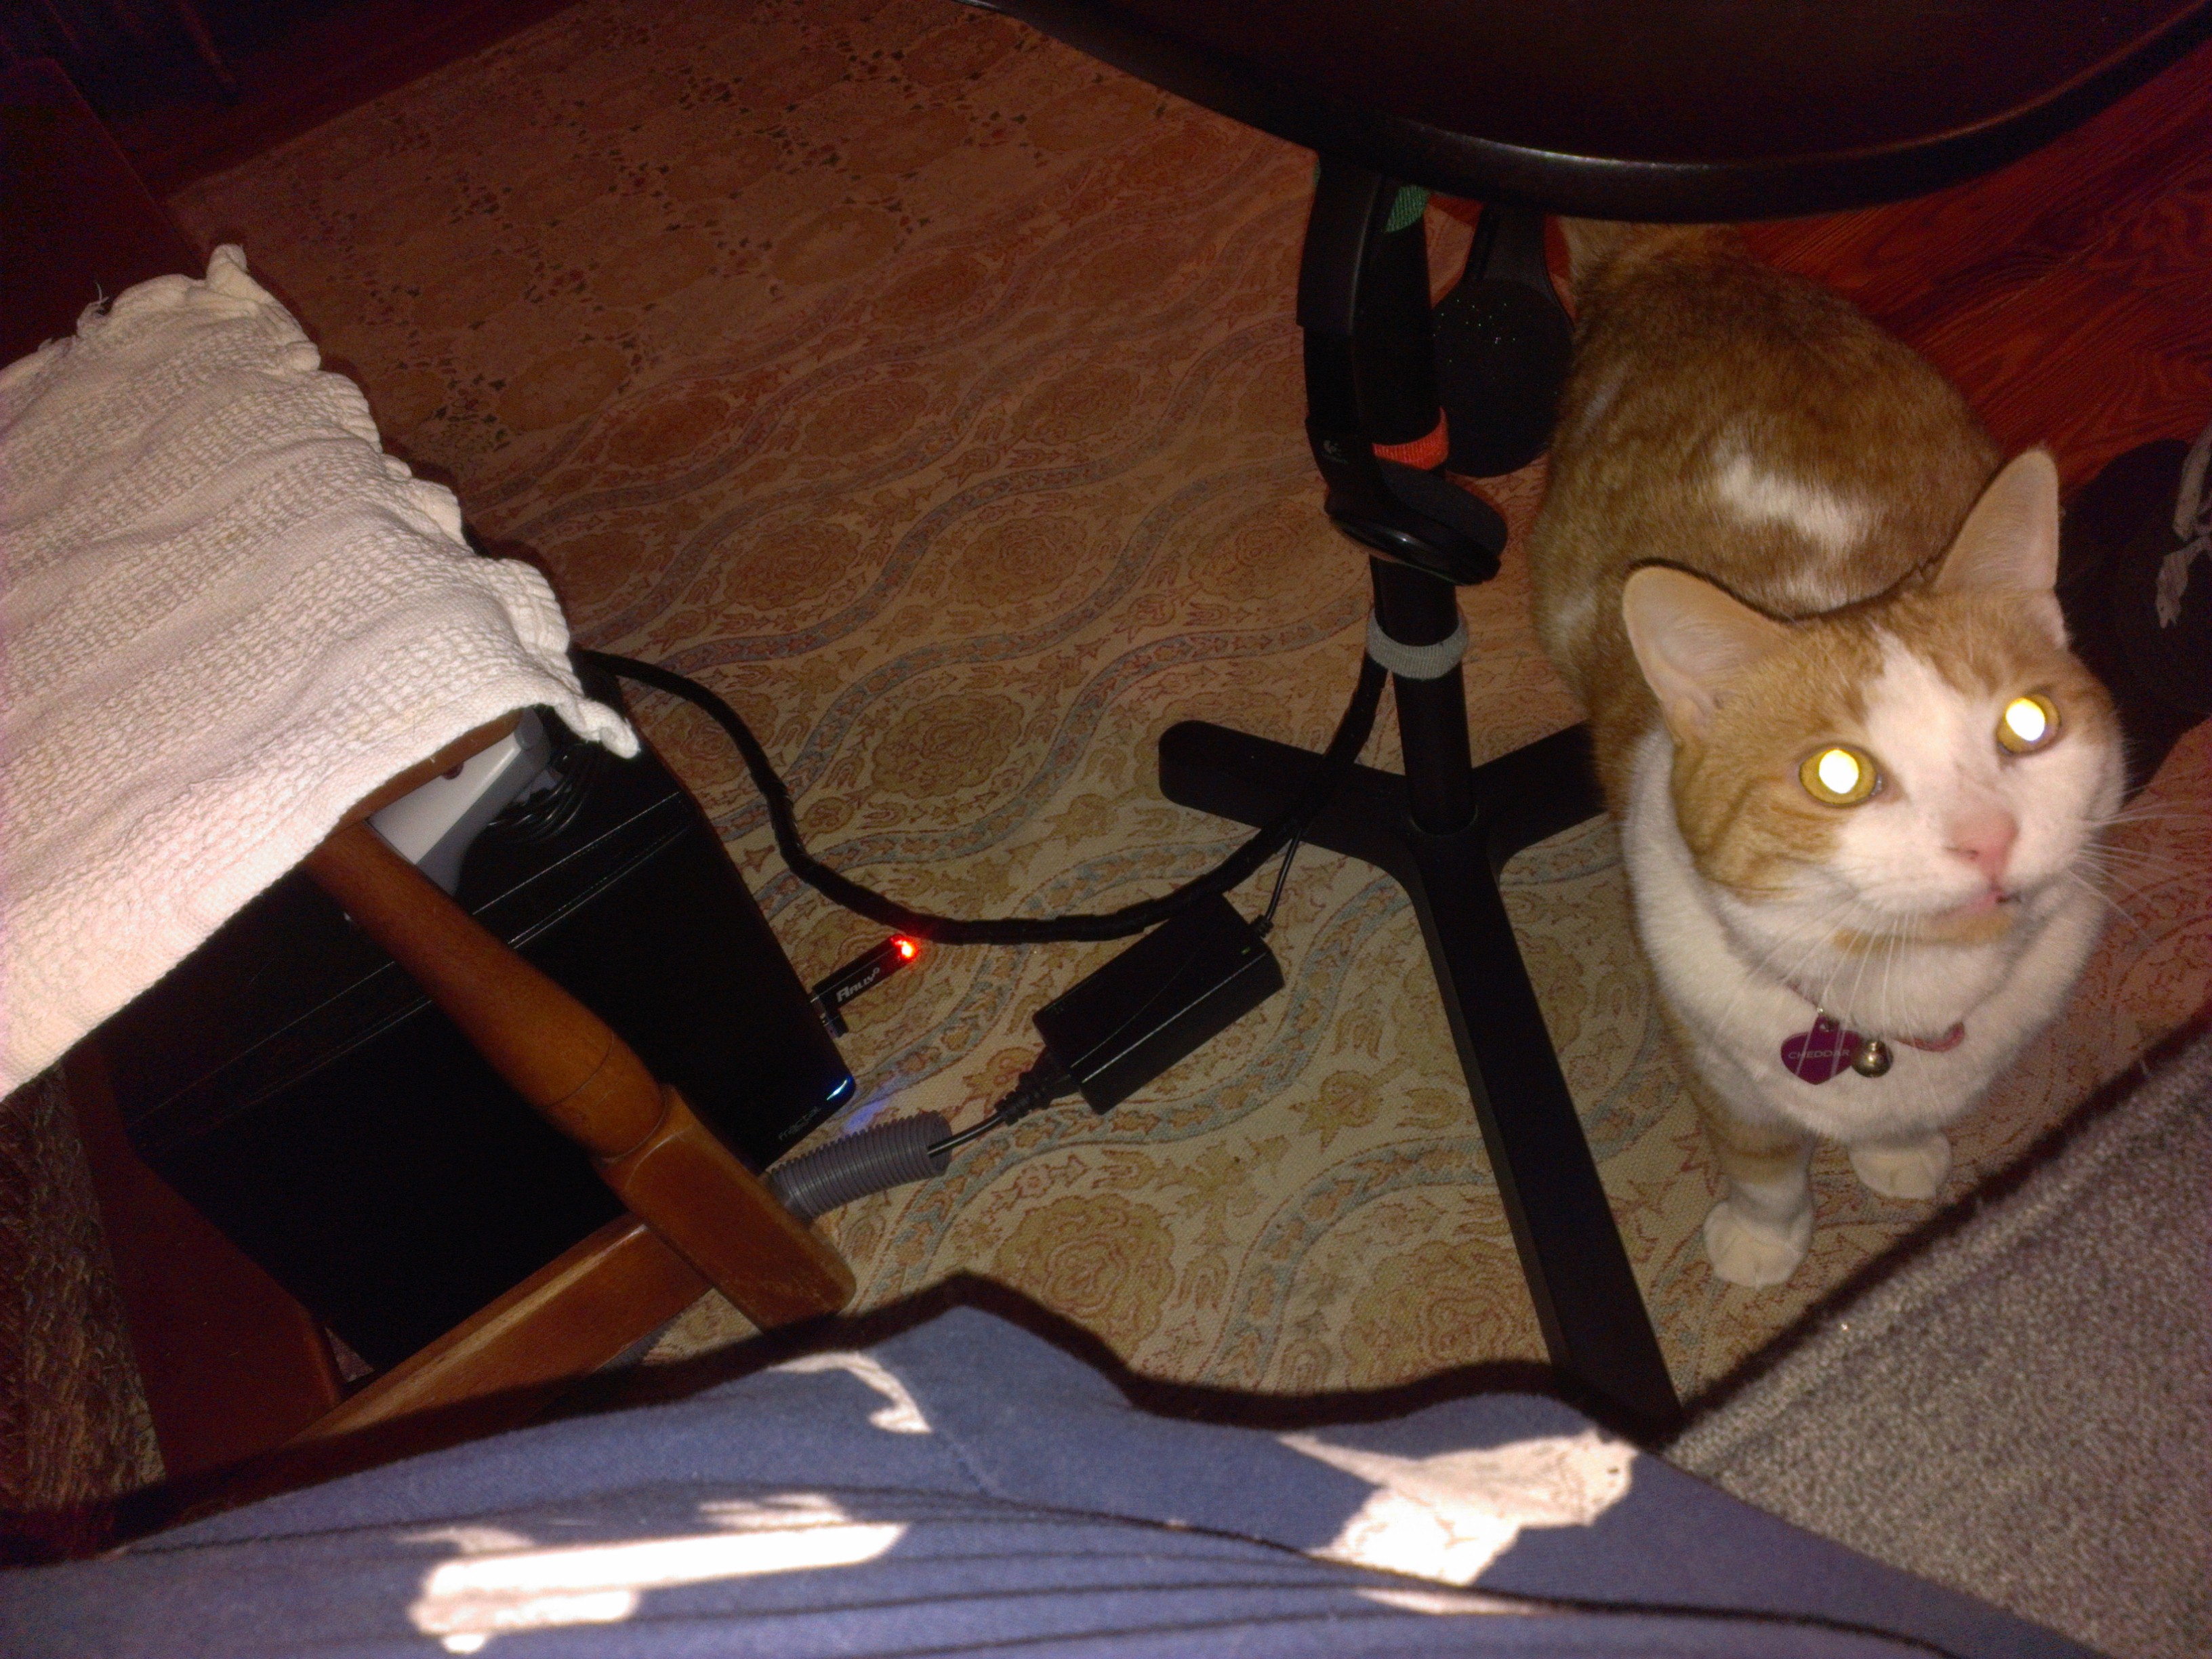
Cheddars just loves my new couch PC. Or, maybe she wants dinner.
What’s next?
This monitor is ugly if you look at it too closely. I slipped a bit with the acrylic cutter and left some obvious gouges, and the layers have a grubby patina of scratches just from clumsy handling throughout the process. Basically, it’s very, very obviously hand-made by a guy who writes software for a living and hasn’t touched a power tool for more than 5 minutes since high school shop class.
But, I think some really valuable things came out of this first attempt: It took me a bit to work through how to mount the LCD panel and route the cable out the back in a way that didn’t put stress on the wires or the connectors. There was a lot of fudge factor in getting the VESA mount alignment just right. And, there was also that HDMI cable I wrecked by botching the control board placement. Beyond all that, though, the basic idea worked.
So, I’m already thinking about v2.0 and making friends over at i3Detroit who can drive a laser cutter. I’m checking out Inkscape and Ponoko. I’d also like to find some better materials – maybe aluminum for the front bezel and back panel, and maybe drop a layer from the stack. It would be really nice to get a much cleaner look and drop some weight. Also, an upgrade to this cheap VESA mount would be keen – I can’t quite get all the adjustments I’d like.
Overall, this thing works, and that makes me pretty happy. In the beginning, I had really hoped to just find someone else had made this exact thing – maybe on Thingiverse. But, no such luck. This “Laptop-to-Desktop” Instructable is pretty close, but not entirely what I needed. I guess DIY high-res LCD monitors are just not a thing. But, maybe this post and a possible v2.0 post in the future might come in handy for someone else.